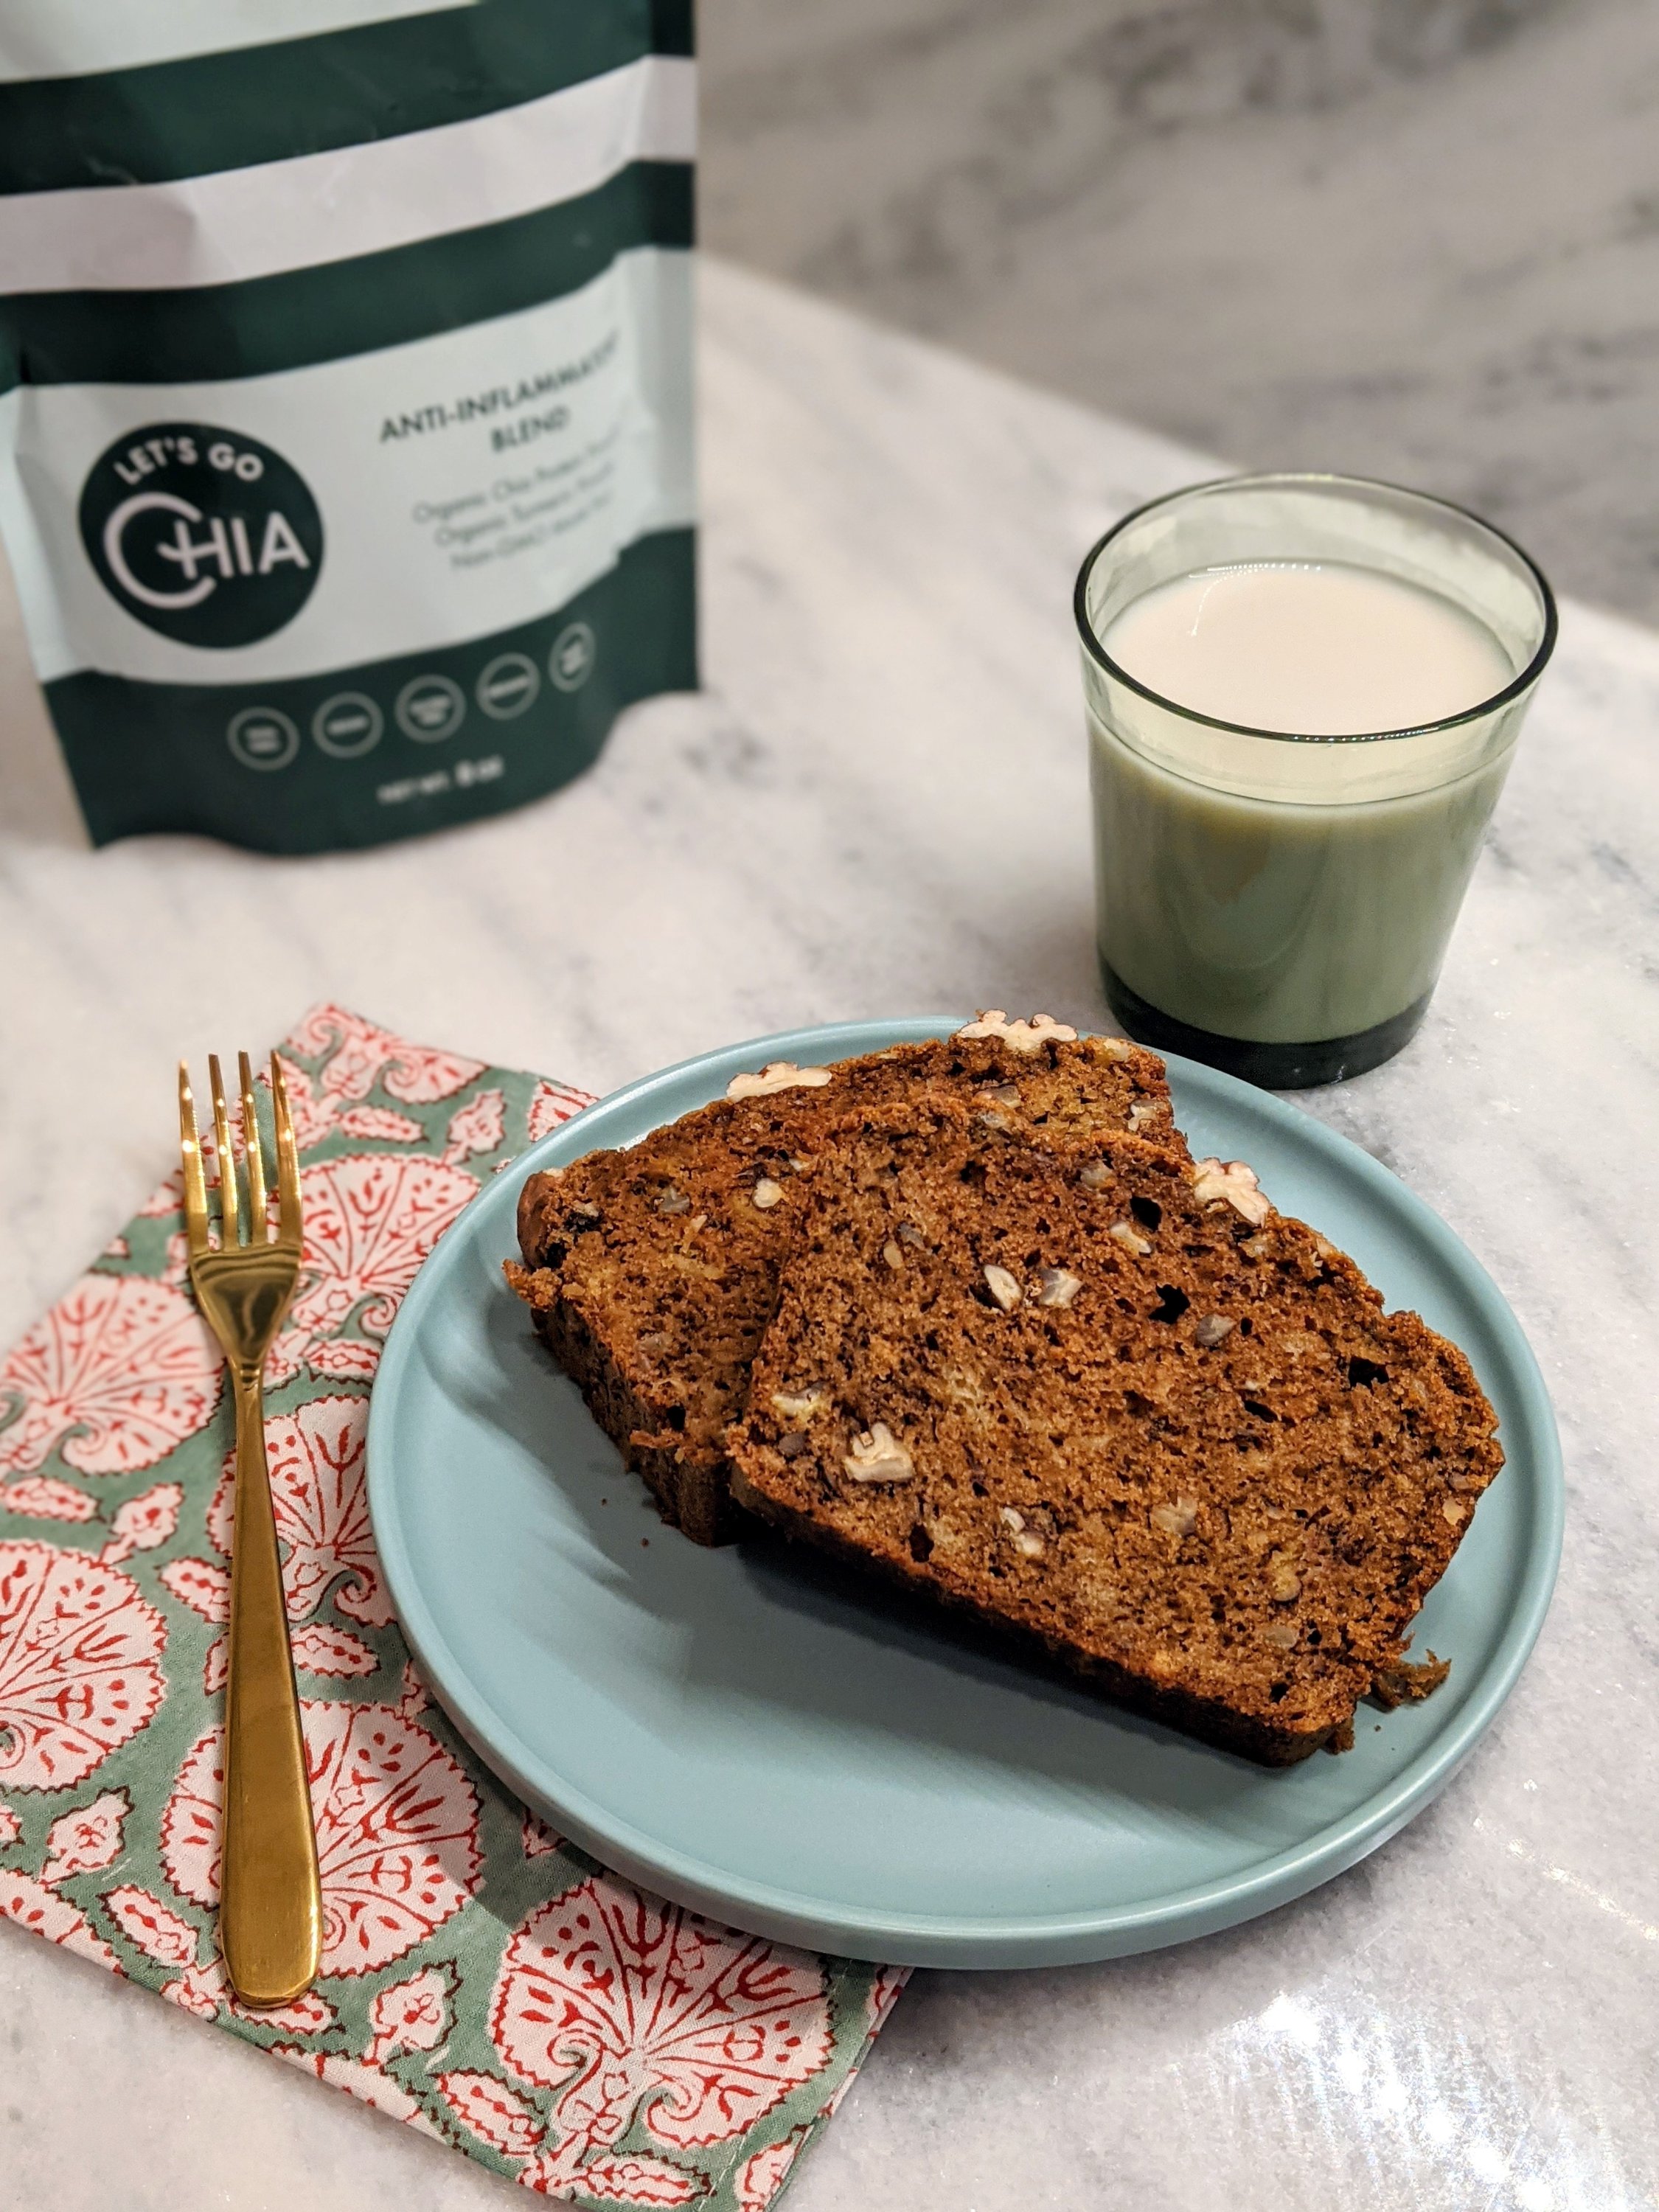
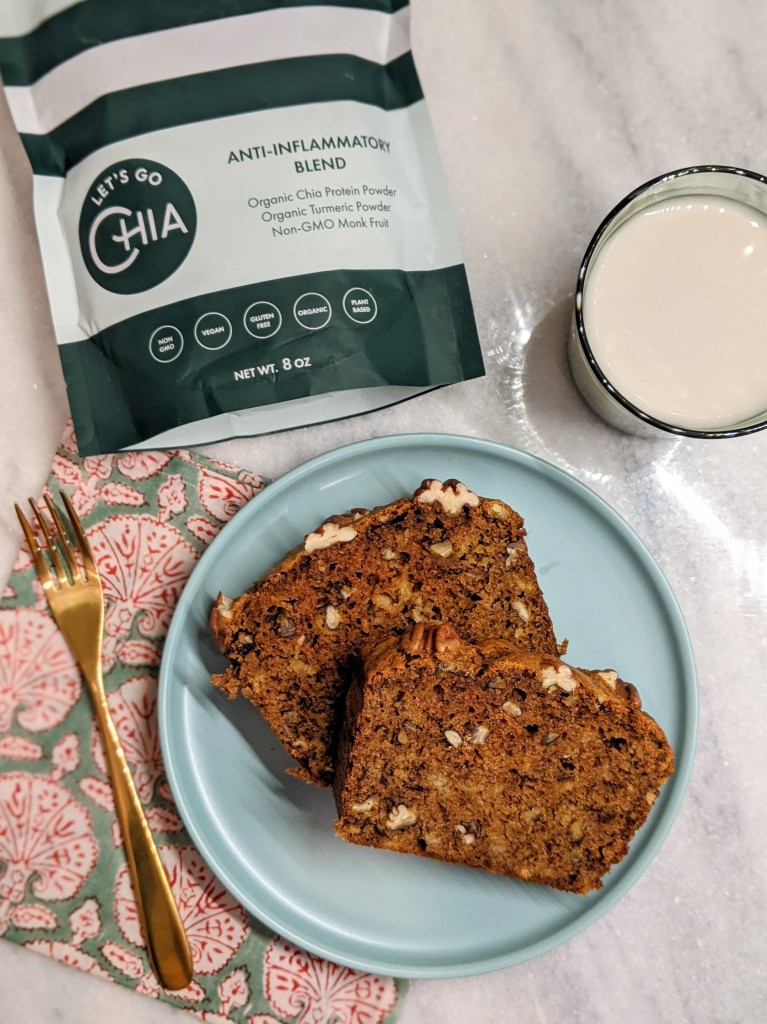
This recipe features Let’s Go Chia! A chia-based powder that makes the nutrients of superfoods SUPER bioavailable. You can mix the blend directly into a glass of water, baked goods, smoothies and more! To check it out for yourself, visit LetsGoChia.com
For years, I’ve been searching for the PERFECT go-to banana bread recipe. Keeping a stash of overripe bananas in the freezer, I whip up a loaf or a dozen muffins every couple of months. But the results have been a little bit disappointing, with each batch consistently baking differently. Every now and then it turns out to be delicious, but more often than not the texture is mushy and the flavor is overly sweet.
So I have recently made a commitment to pay closer attention to the details of recipes, such as: weighing ingredients, adding texture, balancing flavors, allowing the batter to have space to bake and giving the loaf time to bake and cool. Since I’ve made these adjustments, my banana bread loaves have improved significantly!
This recipe, which I found on The Woks of Life, promised to be an exceptional loaf. But it did not provide weights for the measurements (except the banana). So the first thing I did was weigh each ingredient that went into the bowl and wrote it down. I also tweaked the recipe by folding in a big handful of pecans (which I also weighed) to add texture. I also reduced the bananas in the recipe because 3 1/2 bananas seemed like a lot (and I did not want a mushy loaf)! I settled on 2 1/2, or 285g instead. To give the loaf even more flavor, I snuck in a few tablespoons of Let’s Go Chia! Anti-Inflammatory Blend. I’m so glad I did because the turmeric not only gave the bread a beautiful color but also a spicy, autumnal kick.

I think one of the keys to the success of this recipe was filling the pan appropriately. I have been stubborn all these years and didn’t care if I overfilled my loaf pans. But I have come to understand that an overfilled loaf pan will, more than likely, produce an under-baked, gummy loaf. Solution? Fill loaf pan 3/4 full and if there is any batter leftover, bake in small oven-safe ramekins or a muffin tin alongside the loaf. These small banana breads will finish baking first and then you can taste test them while you’re patiently waiting for the larger loaf to finish baking!
Another winner was TIME. After underbaking so many loaves, my rule of thumb now is to set a timer 10 minutes before the suggested baking time and then watch the loaf every 5-10 minutes until it’s done. I watch for the top of the loaf to color, the edges to brown and the middle to dome slightly. I tap the top to see if it bounces back. And the best test is the toothpick test – inserting it in the middle to see if it comes out clean. This process can be a little frustrating because it seems like the loaf is baking FOREVER to bake. But it’s so worth it when that PERFECT LOAF comes out of the oven.
In the same way, the loaf also needs TIME to cool before slicing. Letting the loaf cool in the pan first for at least 10 minutes allows the eggs set (otherwise when you turn it out the bread might crumble and break). Then carefully turning or lifting the bread out of the pan and onto a cooling rack to rest prevents the outside from sweating and the crunchy crust to form on the edges. Once the loaf is no longer steaming (it can still be warm), you can slice it!
– – – – –
So here’s my recipe for…
Let’s Go Chia! Turmeric Chia Banana Nut Bread
This recipe is my new go-to banana bread! I hope you love it as much as I do!
Adapted from the Woks of Life
Ingredients:
- 1 cup (136g) AP flour
- 1/4 cup + 3 TBS (80g) wheat flour
- 3 TBS (21g) Let’s Go Chia! Anti-Inflammatory Blend
- 1 tsp baking soda
- 1/4 tsp cinnamon
- 1/4 tsp salt
- 1 cup (90g) crushed pecans
- 3/4 cup (154g) white sugar
- 2 large eggs, room temperature
- 1/2 cup (114g) oil
- 2 1/2 (285g) bananas, smashed
- 2 TBS sour cream or yogurt
- 1 tsp vanilla extract
Method:
- Preheat oven to 325F. Grease whatever loaf pan you have lightly with cooking spray and line with parchment paper so it hangs off the sides. Lightly spray the parchment also. The original recipe calls for a 9×5 loaf pan but if you have a smaller one, grease a few muffin cups or ramakins to bake any extra batter (you don’t want to overfill your loaf pan).
- In a bowl, sift together: flours, let’s go chia!, baking soda, cinnamon and salt. Mix in pecans. Set aside.
- In a stand mixer, cream the sugar and eggs on medium speed until pale and fluffy – 5 minutes. Then turn mixer on low speed and drizzle in the oil slowly until incorporated – should take another minute (this part is important to emulsify the fat!). Mix in the smashed banana, sour cream and vanilla.
- With a spatula, fold in the dry ingredients until just incorporated and you can’t see any more flour. (Try not to overmix the batter!)
- Pour batter into prepared loaf tin until 3/4 full. If you have leftover batter, pour into the backup muffin cups or ramakins, also 3/4 full. Bake the loaf for 50-80 minutes until the top bounces back when tapped, a toothpick inserted comes out clean and the cake begins to come away from the sides of the pan slightly. Bake the muffins/ramakins for 20-30 minutes until a toothpick inserted comes out clean and the top bounces back when tapped.
- Take bread out of oven and let cool in the pan for 10 minutes before turning onto a cooling rack. Let bread cool for another 15 minutes before slicing.
 0
0 0
0 0
0


